Category: Nature Journaling, Wonder Wednesday
Amy is back again this summer! She’s traveling and taking great photos along the way. Today she has some tips for how you can do the same while out on your summer adventures!
She takes beautiful photos of my children’s garden workshops, so I am excited for her to offer some of here insight here on the blog!
Nature Photo Tips
I take a lot of pictures. I take pictures for our Montessori school’s yearbook. I take pictures for our local Children’s Garden. I take pictures of nature. Sometimes, I even take pictures of my family. When I go out specifically to take pictures, I prefer my “real” camera, which isn’t super-expensive and loaded with tons of extras, but I feel I get better shots, especially if I’m taking pictures at a distance.
Where my “real” camera fails, however, is in getting macro, or close-up, pictures. Not because it isn’t a good camera, but because I haven’t wanted to pay for (or carry) the macro lens that I could buy for it.
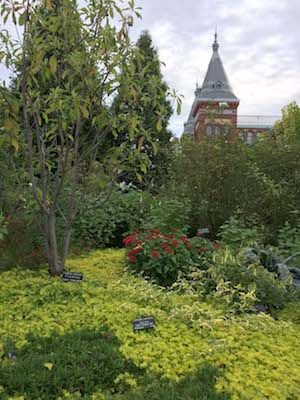
A camera phone (and macro lens) can come in handy when you unexpectedly find yourself in a nice little garden.
For our recent trip to the Washington, D.C., area, I also didn’t want to deal with lugging around my “real” camera. While I did miss it a few times, my iPhone and Easy Macro Lens Band proved up to the job, especially when I stumbled upon a garden area sandwiched between two museums off the National Mall. That’s when the camera on your cellphone really comes in handy. I’m not a professional photographer by any means, but here are a few tips I have found. I’m sure you have others, so please share them!
- Buy a macro lens for your camera phone. The camera on my phone does not like to get very close to its subjects, which is a shame. These close-up shots can reveal so much about plants, animals and even rocks.
Different types of macro lenses are available. I use the Easy-Macro Lens Band, which is available for about $10. I am actually on my second one after the rubber band got a bit gross and stretched out.
Whichever macro lens you choose, be sure to keep it in a safe and accessible place. These things are pretty easy to lose, not that I’ve ever had to scour the ground for a macro lens that came off my phone while being pulled out of a back pocket during a farm stay vacation. (And, yes, I did find it!)
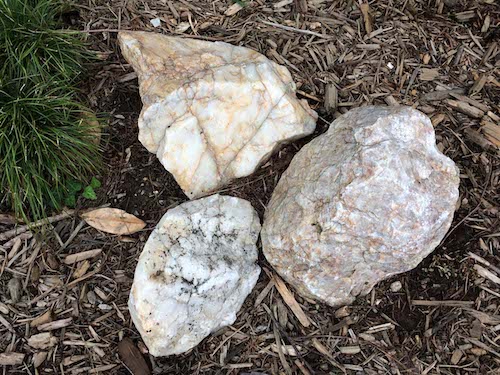
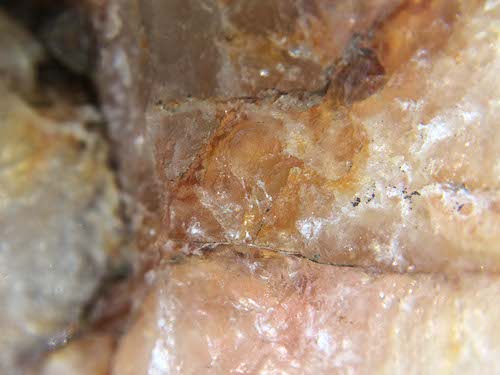
Children love rocks! I found these at George Washington’s River Farm in Alexandria, Va., this summer. The rocks are interesting, but the close-up picture is way more interesting.
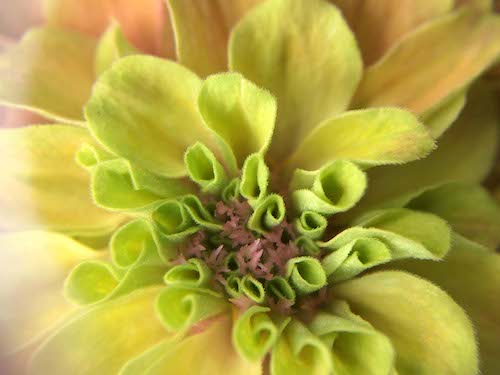
2. Make sure the macro lens you use is fitted properly across your camera’s lens. Otherwise, you might have a “halo” effect or rubber band on your photo, which may or may not add interest to your photo.

A macro lens on your camera phone can really pick up details. Just make sure your lens is seated properly on your phone’s camera lens. This close-up picture of the zinnia’s center looks like I picked up a halo effect from the edge of the macro lens.
3. Check your camera phone to see if you can flip between front and back lenses. Then, remember that your phone has that capability. If you have a macro lens, you can probably flip the macro lens around, too.
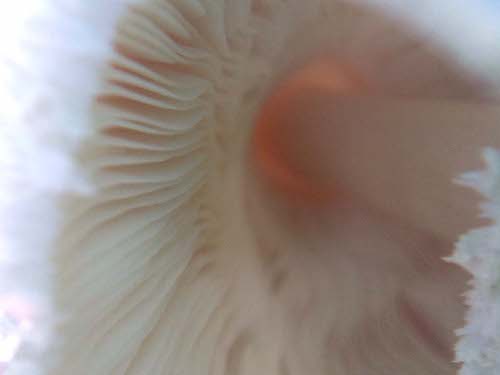
I flipped which camera lens I used on my phone – and my macro lens – to get this shot underneath a mushroom without damaging it or standing on my head.
4. Think about why you are taking the picture. Are you taking a picture of a flower because it’s pretty, do you want to paint it later using the picture, or are you taking the picture to help you identify it later?
If you are trying to identify the plant, you may want to take several pictures, focusing each picture on a different aspect of the plant: the leaf, the flower, the berries or the bud. An overview photo of the plant also would help show its height or spread. Multiple pictures also would help you later when you have time to draw or paint the plant.
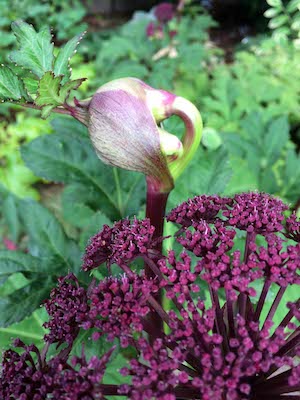
I found this interesting plant in a Washington, D.C., garden off the National Mall. Some of the plants were identified, but I wasn’t sure if the sign went with this plant or another. To help me identify it later, I took a cellphone photo of the flower and bud, as well as the nearby sign. It turns out to be Angelicus gigas, just like the sign said.
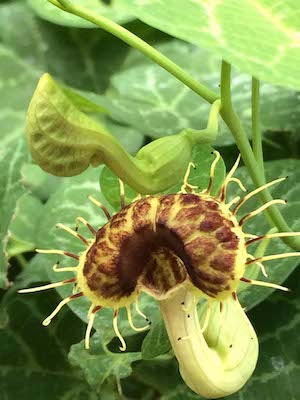
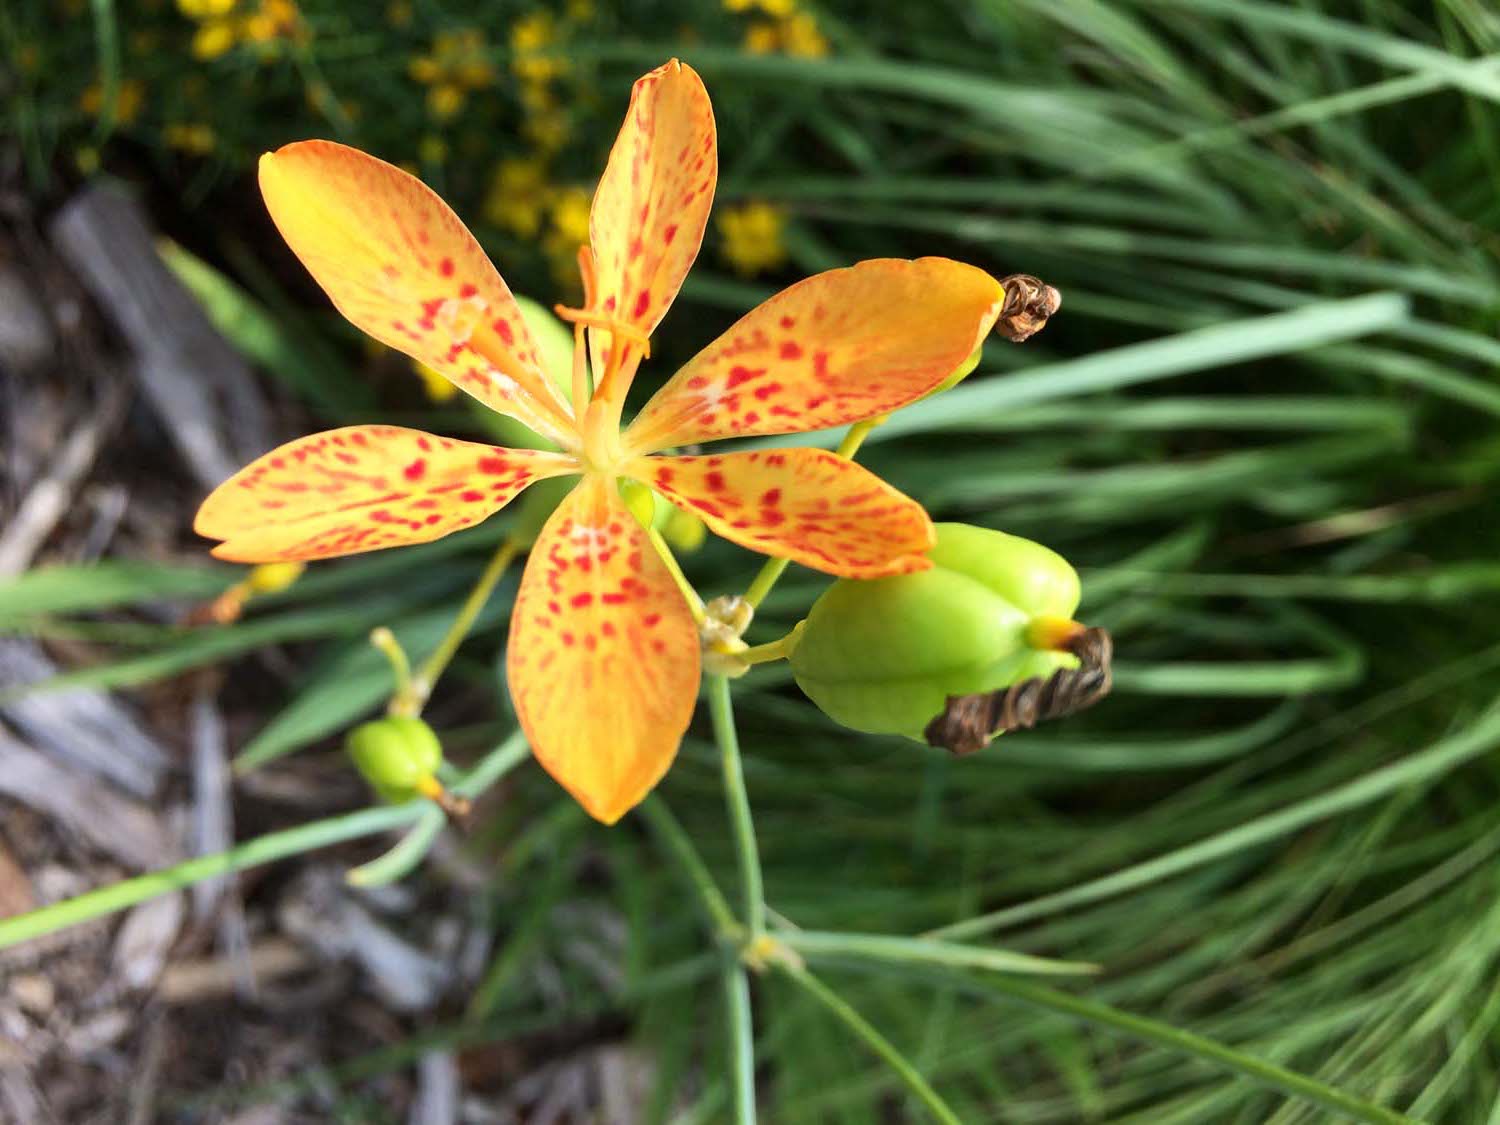
This unusual flower and bud found on our D.C. trip would be fun to paint in a nature journal. While the leaves aren’t in focus to help with identification, the flower should be distinctive enough to help find its name.
5. Try a different angle than the one expected when you photograph an object. Instead of photographing a flower straight-on, maybe take your photo from the side. In photography, there’s something known as the rule of thirds. In short, it says to put the subject of your photo off-center to make it more pleasing to the eye.
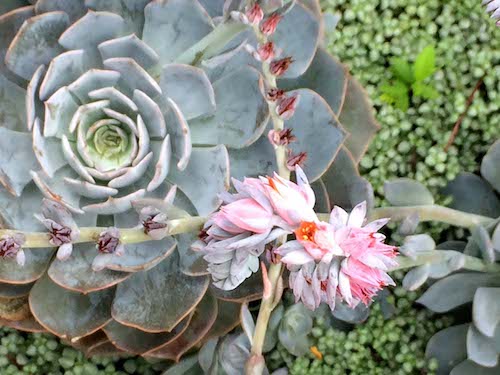
Notice how the center rosette for the cactus is in the upper left corner of the photo, instead of in the center. In this photo, I was trying for something other than the typical rosette shot and wanted to get the flowers into the photo, too.
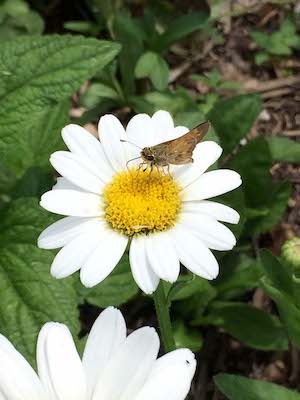
At the same time, don’t get caught up so much in the “rules,” and just have fun! Why miss a good photo of a pollinator just because you don’t have time to “compose” the photo. Plus, you can always crop it later!
What’s your favorite thing to photograph? Share in the comments below!
Share your nature pics on Instagram @ # wingswormsandwonder !
Seeds to Sprout

About the author